Hello all! I thank each & everyone of you who are reading this and stuck by my side during my six months of absents. It means a lot. Today I have some nail art for you. I took pictures along each step with my iPod, so I'm very sorry if the picture quality is stinky. I did some gradient/ombre nails a couple days ago, and I'm still wearing them I loved them so much. They aren't the most professional thing ever, but compared to another ombre effect attempt I did about a month ago, this is making progress. Let's get started.
First, I painted my nails with Jordana's Garlic Growth Base Coat. This is some seriously strengthening stuff. haha, but really. I noticed my nails were peeling much less after a few days of use.
Next, I used Sinful Color's Snow Me White as a base color. This is my go to white. Not only is it cheap, but depending how long I allow my base coat to dry, it covers completely in one - two coats. Don't worry if you get it in your cuticle line or on your skin just yet - we'll clean that up in a bit.
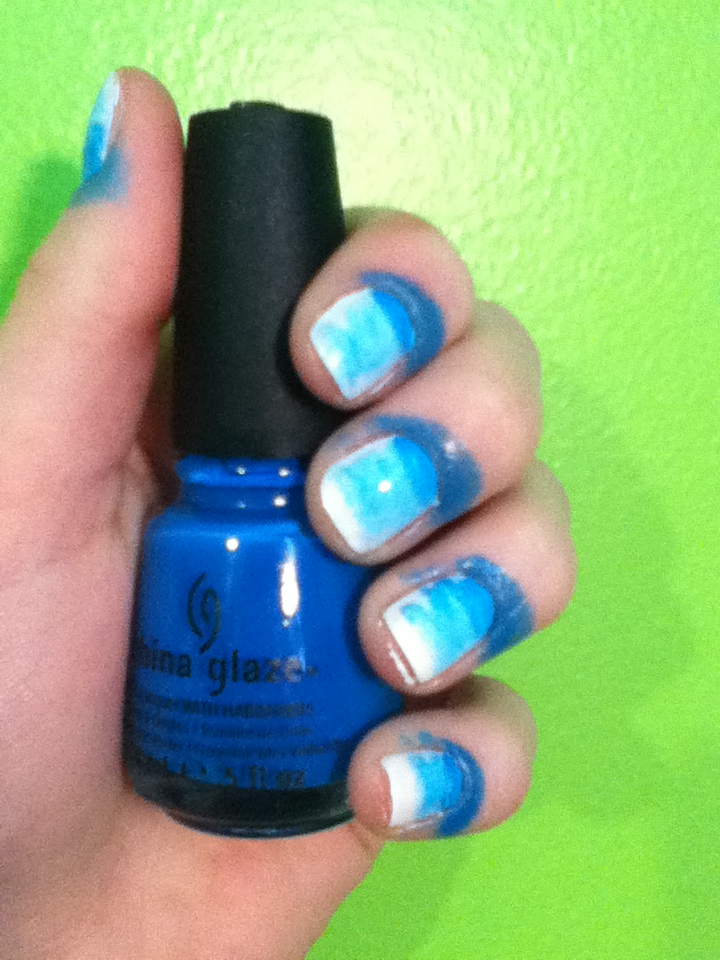
Then, I used China Glaze's Escaping Reality, Creative Fantasy, and Hanging In The Balance, all from the Cirque Du Soleil collection to create my gradient effect. Begin by pouring about a quarter size onto a clean sheet of wax paper.
Now the fun begins! Start with your main color. I chose mine to be Hanging In The Balance. Make sure that using your three colors, the middle one is kind of a mixture between the two. For example, red and yellow make orange, so my main color would be red or yellow, my supporting color would be either red or yellow and my blending color would be orange. Using the main color, sponge at the base of the nail up. Begin very dark and slowly get lighter. Don't sponge all the way to the tip, stop at about 3/4.
Now use your blending color to sponge a horizontal line through the middle of your nail. There should still be the main color slightly above it.
Sponge the blending color below the line and above the line lightly. Go to the tip of your nail but not quite to the base.
Grab your supporting color and sponge a thick line along the tip, like a french manicure.
Blend this down toward the cuticle, getting lighter as you go. Continue this until you feel your blending looks complete. Then, clean up your cuticle line and skin area with a q-tip dipped in remover & a concealer brush.
That's it! You're done! Just add your top coat! I used NYC's Quick Dry polish. Hope you liked this tutorial. I know I was kind of confusing, but hopefully the pictures helped a little. Just remember that this is in no way supposed to be perfect. The point is to have fun & keep blending! Keep in mind, that this is my fifth time trying to do this. Clearly, I'm still not a pro. It will take some time to learn what colors complement each other and are easily bendable. What do you think of this trend? Like it or hate it? You can also top your nails with a glitter to make it look a little more blended if yours didn't turn out too great. Can't wait to hear what you guys have to say!